

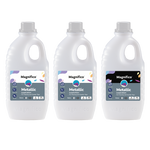

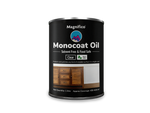


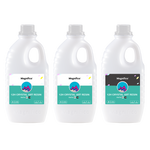

Magnifico Resins has become a trusted name among resin enthusiasts in India. Our flagship products — Magnifico One Resin, the fast-curing 12H Resin, Monocoat Oil for wood finishes, and Geode Resin — offer artists, DIYers, and industrial users high-performance solutions.
In this guide, we’ll explore how to create stunning geode resin art step-by-step for beginners, and why Geode Resin is the perfect choice for achieving bold, professional finishes. Whether you’re new to resin or an experienced artist, our tutorials are designed to be practical, creative, and beginner-friendly.
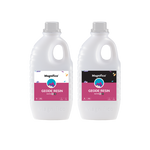
Understanding Geode Resin
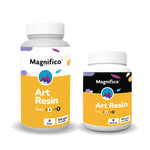
Geode Resin by Magnifico is a specialized epoxy resin developed for geode-style artwork. It features:
- Thick viscosity for controlled flow
- Pigment suspension technology for vibrant layers
- Excellent clarity with minimal yellowing
- Durable, scratch-resistant surface
- Superior adhesion for long-lasting results
Its formula allows artists to layer colors, create veins, and add shimmering effects that mimic natural geodes.
Here are a few practical ways to use Geode Resin in your projects:
Artistic Creations
- Coasters, trays, and wall panels with geode patterns
- Combining pigments, mica powders, and crystals for natural looks
Functional Surfaces
- Decorative tabletops or countertops with geode designs
- High-gloss protective finish on furniture
Industrial Applications - Easy-to-maintain, chemical-resistant surfaces for showrooms or studios
Pro Tip: Use multiple shades of the same color family (like deep blue, teal, and white) for realistic geode depth. Step-by-Step Guide: DIY Geode Resin Art
- Surface Prep - Ensure your base (wood, MDF, or canvas) is clean, dry, and level. For wood, apply Monocoat Oil for better adhesion and enhanced grain.
- Mix the Resin – Follow the manufacturer’s ratio (2:1 or 1:1 depending on packaging). Stir slowly to avoid bubbles.
- Add Pigments - Divide resin into smaller cups and mix different pigments, glitters, or metallic powders.
- Layer & Pour - Pour pigmented resin in rings or bands, layering colors to mimic natural geode layers.
- Create Swirls & Veins - Use sticks, brushes, or a heat gun to swirl pigments and create “crystal vein” effects.
- Cure & Finish - Let the resin cure 12–24 hours. Optionally add crushed glass, stones, or crystals for extra texture.
Tips for Success
- Mixing Accuracy → Stick to the recommended ratios for best results.
- Temperature & Humidity → Work at 22–25°C with low humidity to prevent bubbles.
- Safety → Always wear gloves, goggles, and work in a ventilated area.
- Layering → Allow partial curing between layers for sharper vein effects.
Conclusion:
Let Your Creativity Flow Geode Resin from Magnifico Resins is the perfect partner for creating stunning geode-inspired artwork. Whether you’re designing coasters, wall panels, or countertops, this resin ensures clarity, durability, and dazzling pigment effects